
Nets in Build and Defend Your Raft
Edge nets, the placement cap, passive loot, and the trawler layout that turns sailing time into farming time.
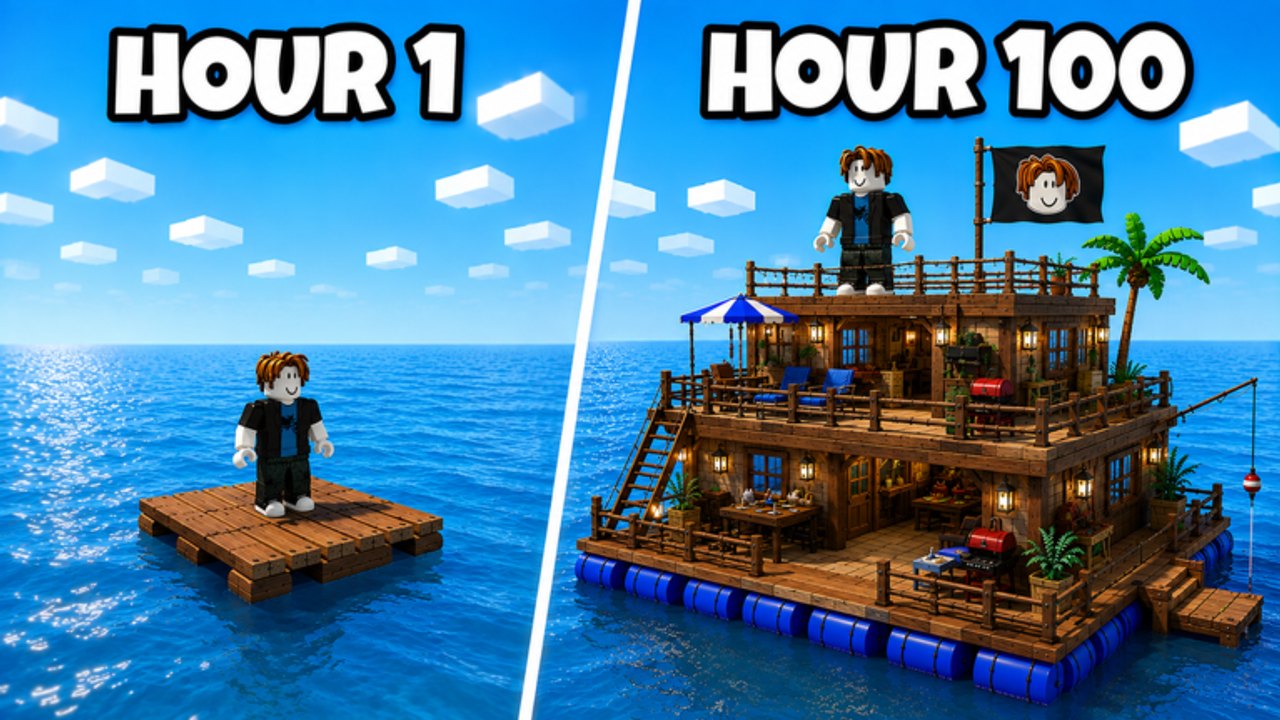
Nets are the closest thing Build and Defend Your Raft has to passive income. Hang them off your raft’s edge, sail around, and the ocean hands you loot — crates, barrels and loose resources get scooped up and stick in the netting until you walk over and collect them.
How nets work
- A net hangs off the raft edge and automatically catches floating items that brush against it while the raft is moving.
- Caught items stick in the net — they do not teleport to your inventory. Someone has to walk the deck and collect, which makes nets and a full crew terrifyingly efficient: the driver steers through debris fields while crew members harvest.
- Nets keep catching while you fight, flee or sail between islands.
The net cap (read this before you buy)
Nets have a placement limit per raft. Place one over the cap and the game takes your materials anyway — players report wasting wood on rejected nets. The cap is per-raft, not per-side, and it can be raised through the Crafting Table’s upgrade tracks.
Count your edges before you craft: a standard early setup is one net per free side (front, port, starboard), keeping the stern clear for steering and cannon coverage.
Why nets beat grinding
Every hour you spend manually harpooning driftwood is an hour you are not upgrading. Nets convert sailing time — which you are spending anyway to flee raiders, chase targets or reach islands — into wood, metal and scrap. The community consensus is to buy nets immediately after your first Crafting Table upgrade, before walls or cannons.
The math that makes nets the best early purchase:
- Manual pickup: swim out (shark risk), grab one stack, swim back.
- Net pickup: zero risk, catches everything you sail past, stacks while you build.
Net raft layouts that work
- The trawler: nets on three sides, sail slow circles through debris fields. Best solo farming pattern.
- The convoy: in a crew, assign one driver and let everyone else collect — a netted raft crossing the map comes home full.
- The raid runner: nets front and sides only, stern kept clear for cannons so you can loot while fleeing a bad fight.
Troubleshooting
- “Raft size limit reached” when placing a net — that is the net cap, not your raft size. Remove or reposition an existing net instead of burning more materials.
- Net full and nothing collects — items stick until collected; walk the deck and grab them.
- Not catching anything? The raft has to be moving. Anchored rafts catch only what drifts into them.
Related pages
- Resources guide — what each catch is worth
- Building guide — where nets fit in the build order
- Crew guide — the driver-and-collectors split
Frequently Asked Questions
Quick answers to the most common raft, raid, and code questions.
How do nets work in Build and Defend Your Raft?
Nets hang off the raft edge and automatically catch floating items while the raft is moving. Items stick in the net until you walk over and collect them manually.
What is the net placement cap?
Nets have a per-raft limit. If you hit the cap, the game still takes your materials but does not place the net. Remove or reposition an existing net first.
Are nets worth buying early?
Yes. Community consensus is to buy nets immediately after your first Crafting Table upgrade. They convert sailing time into passive resource gain with zero swimmer risk.
Why is my net not catching anything?
The raft must be moving for nets to catch. Anchored rafts only catch what drifts into them passively.
What is the best net layout?
The trawler pattern — nets on three sides, sailing slow circles through debris fields — is the most efficient solo layout. Keep the stern clear for cannons.